
SWAT-Team-Pin: Bedeutung, Design und Anpassungsleitfaden
Table of Contents A SWAT team pin is a specialized insignia worn by SWAT personnel to symbolize role, qualification, and
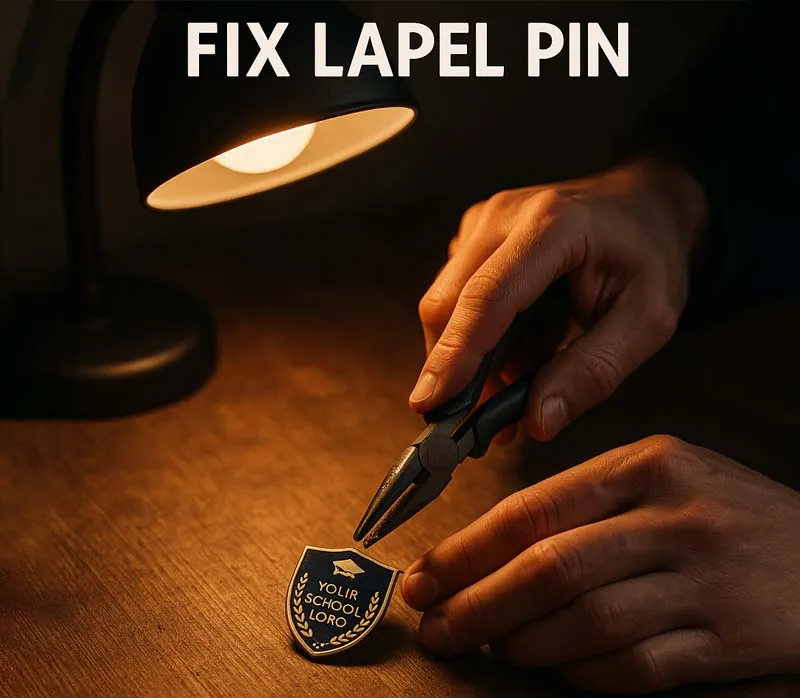
To fix a Reversnadel, start by identifying the issue—whether it’s a broken clasp, bent pin, or damaged design.
For a loose clasp, pinch it gently tight with pliers. A bent pin can be adjusted with your hands or small instruments. If the design is busted, professional restoration could be warranted.
Maintenance is another way to avoid problems down the road.
Pin finish is a good place to start when considering quality lapel pins. Lapel pins, often gold or silver plated, can scratch with normal use. These scratches might seem insignificant initially, but they contribute to the overall wear and tear of the pin. Frequent handling can lead to dirt accumulation or moisture retention, potentially staining the finish or impacting its longevity.
Before you jump into the repair, gather your tools. Not only does having the right supplies at the ready make the job easier, it reduces the chances of accidentally doing more damage to your lapel pin. Every tool has its place, and knowing where it lies will keep your repair process running slick.
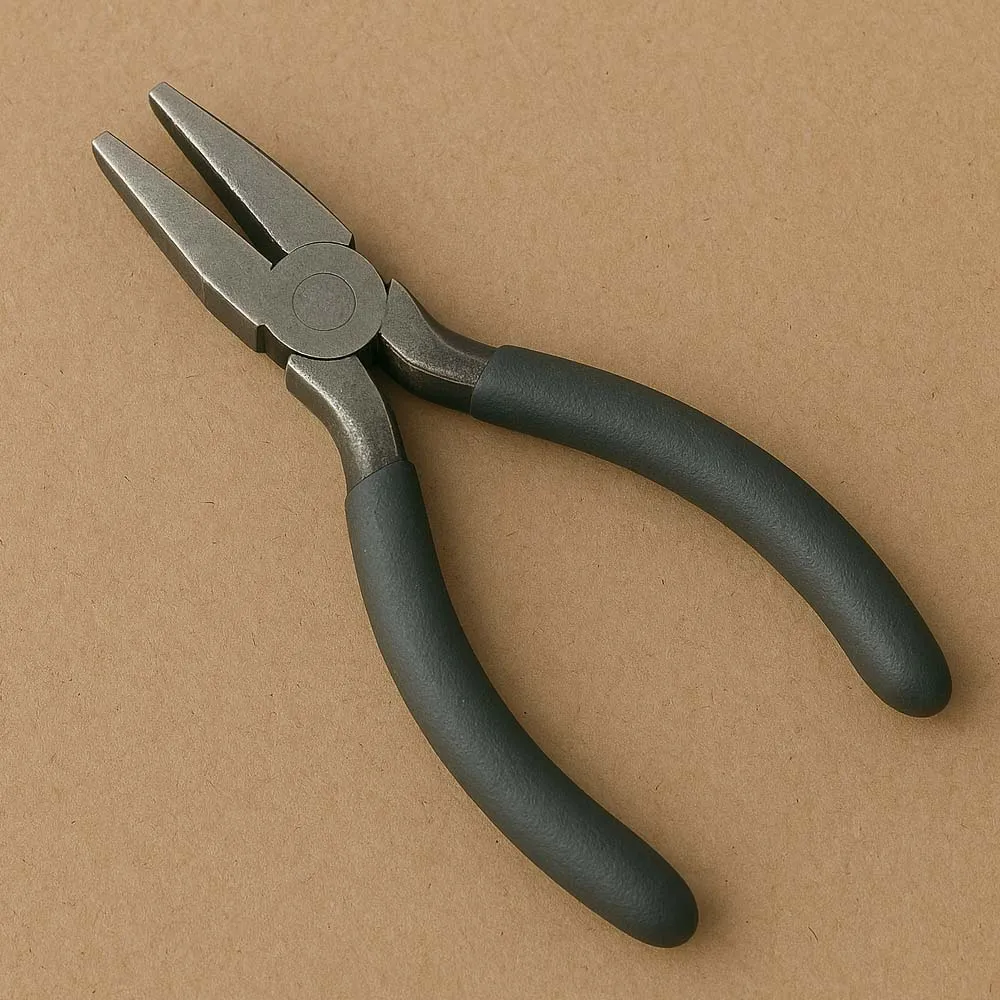
Pliers, especially flat-nosed ones, to repair bent pins. Their flat surface offers a solid grip while minimizing the risk of scratching or denting the enamel. For instance, if the pin’s post has been bent from normal wear and tear, carefully straighten it out with the pliers, being sure to not overcorrect.
Flat-nosed pliers come in handy for fine-tuning, allowing you to make precise tweaks without damaging the pin’s metal. Tweezers are another must-have. Great for dealing with small or fiddly parts, like the clasps or backing pieces.
This comes in handy, especially when taking apart or putting together the pin for better control of these small components. Think about attempting to place a tiny backing piece without tweezers – it would be much more difficult and error prone.
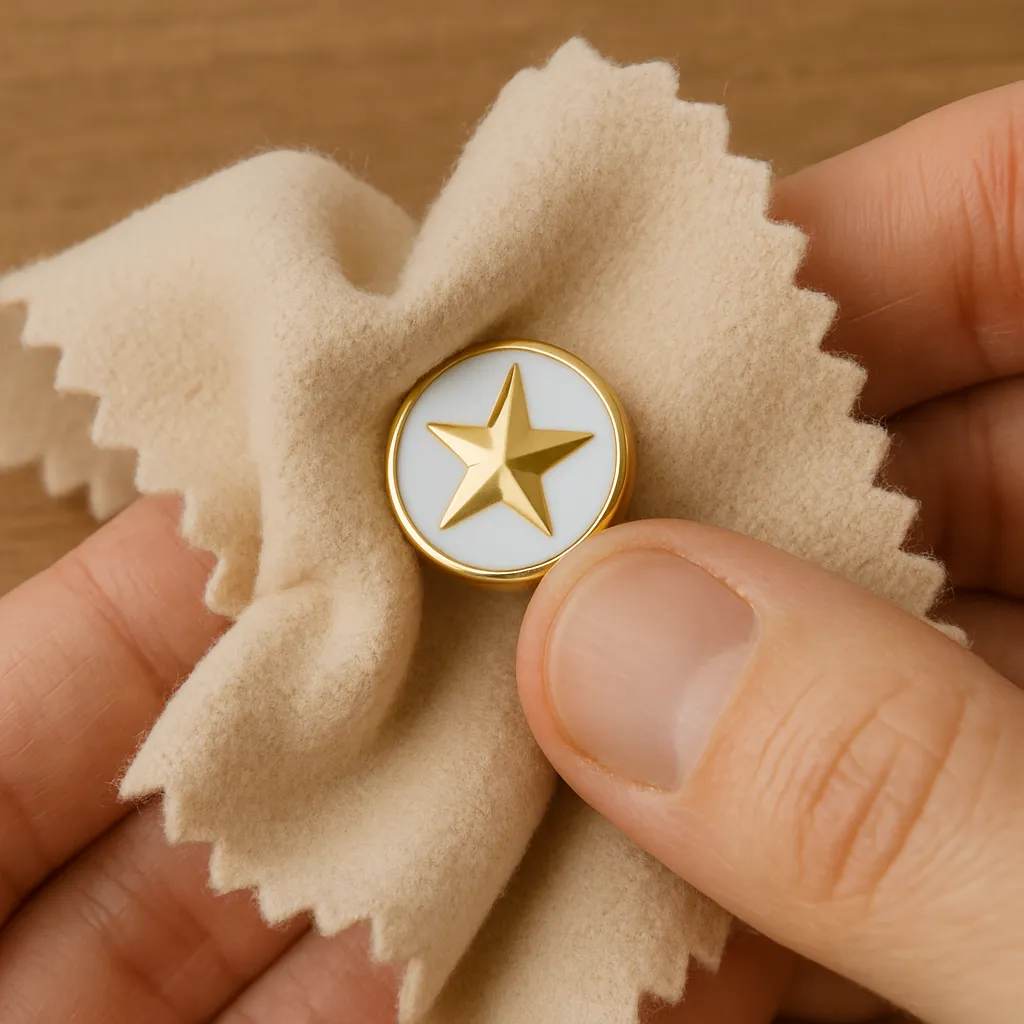
You’ll want a soft cloth for cleaning and handling the enamel pin along the way. This protects against scratches and preserves the pin’s original finish. For example, when using the pin to realign a crooked post, cover it with a soft cloth to protect the enamel and keep your fingers clean.
Super glue could be necessary in fixing broken bits – like a knocked off post, or loose decoration. Caution is key when using glue – too much can ooze out and damage the pin’s finish. A little brush will assist in applying the glue directly where you need it.
For instance, brush the edge of a post that’s come loose with a light coat before you re-glue it. Alcohol wipes come in handy for cleaning the pin and its components pre and post repairs. They take away grime, or oils or residue, so that glue sticks well and the pin shines.
Cleaning equally assists in preserving the pin’s overall appearance. Armed with these tools, the whole process becomes a lot more efficient and less accidental, helping you keep your enamel pin pristine.
Fixing a lapel pin requires careful attention to detail, as these small accessories are both functional and often sentimental. How you fix it is a matter of the problem–a loose backing, a broken post, or whatever wear and tear. Here are various methods to fix a lapel pin.
For butterfly clutch pin backings, it’s usually a loose grip, so the pin falls off easily. The easiest solution is to take your pin to a jeweler or cuddler of some sort and have them spring the wings closer together. This adds tension and a tighter grip on the pin’s post.
Be careful, as too much pressure can deform the clutch or damage the pin. Testing the fit after each adjustment is a smart way to accomplish your goal without overshooting.
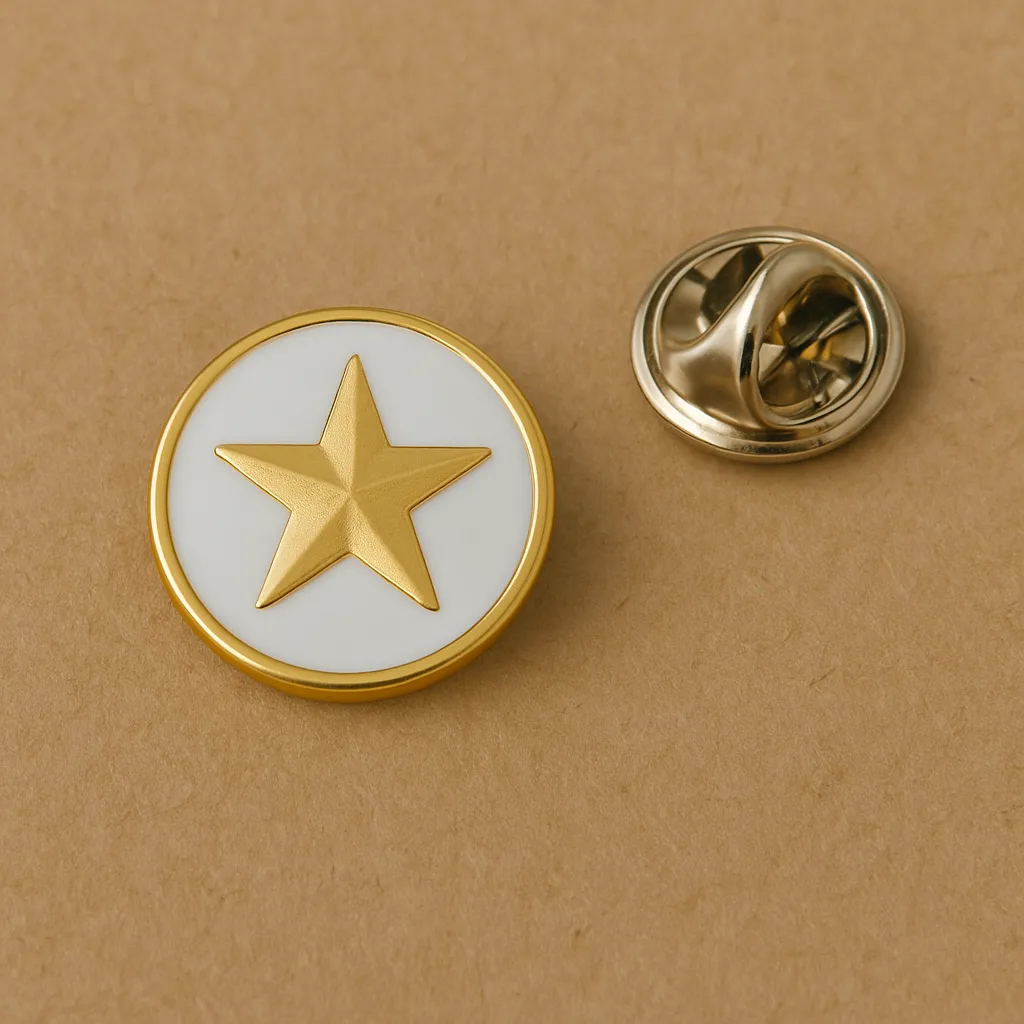
When it’s a broken post, your repair options are more narrow. Posts are generally affixed via soldering, spot welding, insetting, or using an adhesive backing. If it’s snapped off all the way, you might need some special tools or adhesives to put it back on.
A two-part epoxy putty (aka: epoxy clay) is your best friend when it comes to reattaching posts, or filling holes. It cures into a pretty strong bond, but you gotta be fast before the putty sets. Note that this technique can modify the pin’s original look, and is ideally suited for pins with simpler designs or designs that have very little visible detail on the back side.
Epoxy glue, jewelry glue, or cyanoacrylate (super glue) are the most flexible options when it comes to fixing lapel pins! These glues do a great job of fixing posts back in place or attaching any aesthetic additions that may have separated.
Before gluing, test it on a hidden part of the pin to make sure it won’t harm it. Wipe down both the pin and the surface you’re gluing it to to enhance bonding power.
For custom and/or valuable pins, though, a trip to the local jewelry repair shop is your safest bet, as professionals there can come up with customized solutions without risking harm.
With lapel pins, it’s frequently the fabric they’re pinned to that takes a beating. It can be the difference between your dress shirt looking good to wearing out. Various fabrics respond to pins in their own special ways, and knowing these details can preserve fabric vitality.
Sateens, for instance, are renowned for their smooth, shiny surface, but their dense weave renders them susceptible to pin harm. Any pin hole, even a tiny one will break the consistent shine of the fabric – it makes the damage more visible. Just as with high-thread-count fabrics like Egyptian cotton, the softer the fabric the more likely to reveal pin marks. The more tightly woven the threads, the more any puncture or snag will pop out.
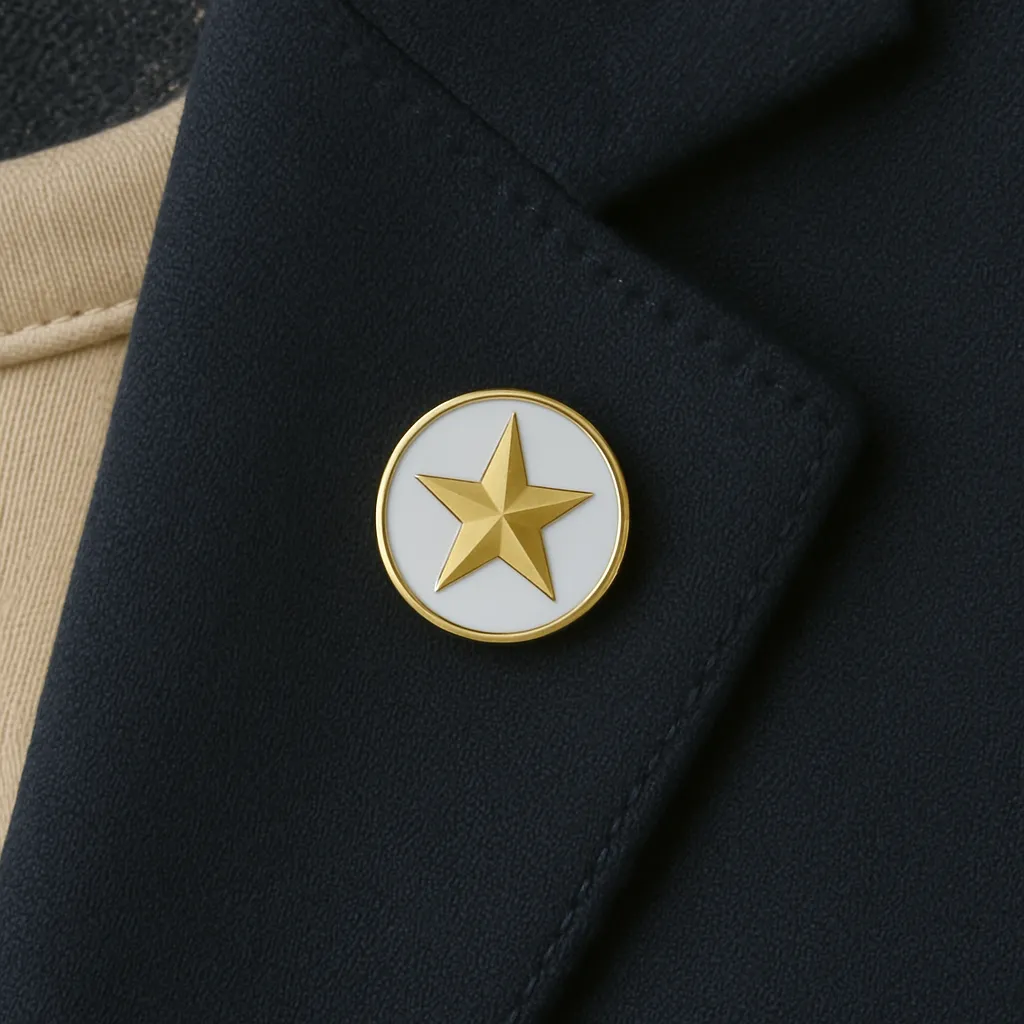
That’s why it’s important to consider the fabric type before pinning on a lapel pin, particularly with susceptible fabrics. For lighter or more delicate materials, such as chiffon or silk, additional attention is needed. These fabrics are easily torn or pulled if too much force is leveraged in pinning or unpinning.
Treat the fabric delicately, along with selecting lapel pins with backings that drip less damage. For example, rubber or magnetic backings are sometimes gentler on delicate fabrics than old-school metal clasps, which can press too tightly against the fibers. With thicker fabrics, like wool or denim, the likelihood that you’ll cause visible damage is less, but even then, it’s prudent not to unnecessarily overwork or hammer a pin through the fabric.
Routine care contributes as well. Dirt or oil left on a garment can also deteriorate fibers, so wash and store appropriately. This is especially the case with high thread-count materials that are more vulnerable to pin damage in the first place.
For lapel pin-prone pieces, switching up the location of the pin can help spread wear over a wider area.
Lapel pins, whether cherished keepsakes or proud representatives, require regular care to maintain their initial allure and durability. Good care ensures they remain gleaming and safe from harm due to daily handling or careless storage. For those interested in quality lapel pins, routine maintenance is essential.
Daily cleaning is the most basic level of pin care. Over time, dirt, oils, and pollutants can build up on the surface, dimming the pin’s shine. A soft microfiber cloth is an elegant solution for everyday cleaning. Lightly wiping the pin cleans it and keeps moisture at bay, which can cause tarnish. For intricate designs like enamel pins, a mildly wet cloth can reach crevices, but be cautious to dry the pin afterwards to prevent moisture damage.
Silvery pins with tiny engravings can accumulate dust in crevices, so consistent care is key. Using proper lapel pin backings can also help in maintaining their structure and appearance over time.
Look for problems such as broken clasps, crooked pins, or lost pieces. Carefully check the quality lapel pins! Knowing the issue will assist you in determining whether it can be fixed with DIY repairs or requires professional repair services.
Simple things, such as some needle-nose pliers, super glue or epoxy adhesive, and a soft cloth, are generally all you need to repair typical pin issues like bent legs pin backing or loose parts.
With needle-nose pliers, bend the clasp of the lapel pin back into shape. If it’s broken, use a reliable option like super glue or epoxy adhesive to reattach it! Allow it to dry fully before reapplying the quality lapel pins.
Yes! Carefully unbend a bent lapel pin with needle-nose pliers. Watch out for snapping the metal! Work slowly on restoring its original shape without wrecking the design of the enamel pin.
Cover small holes with a fabric repair pen or patch; for delicate fabrics, consider taking it to a tailor or seamstress for professional repair.
If the pin is extremely valuable or complex, or if it’s very badly broken, it’s best to take it to a jeweler or specialized repair service. They can fix it without damaging the design.
To keep your lapel pins in a safe box or display case, ensure they don’t get bent or scratched. Be cautious not to use them on thick fabrics that could strain the pin. Regular maintenance and proper storage will help maintain the quality lapel pins in tip-top shape.
Sticking a soft magnetic or 3M sticker on the back can keep the function without damaging it, and it can even be turned into a refrigerator magnet.

Table of Contents A SWAT team pin is a specialized insignia worn by SWAT personnel to symbolize role, qualification, and

Table of Contents This guide covers everything you need to know about custom punk rock pin design, materials, and manufacturing.
Nr. 5, Tongan Road,
Ostbezirk Xiaolan Town,
Zhongshan, Guangdong,
China
Urheberrecht © 2024, Zhongshan Peakeen Gifts Supply Chain Co., Ltd. Alle Rechte vorbehalten. Angetrieben von PeaKeen Datenschutzerklärung
Lassen Sie uns zusammenarbeiten, um Geschäftswachstum zu erzielen!