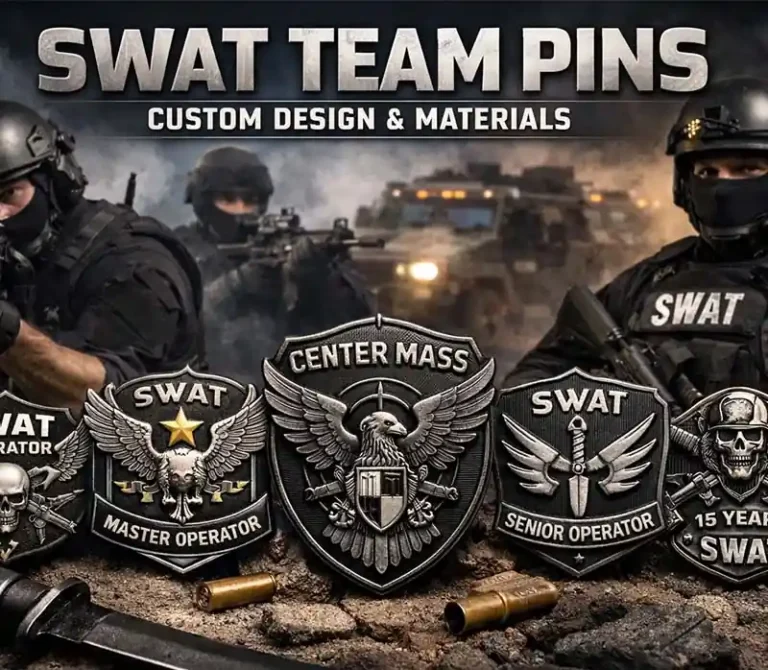
SWAT Team Pin: Meaning, Design, and Customization Guide
Table of Contents A SWAT team pin is a specialized insignia worn by SWAT personnel to symbolize role, qualification, and
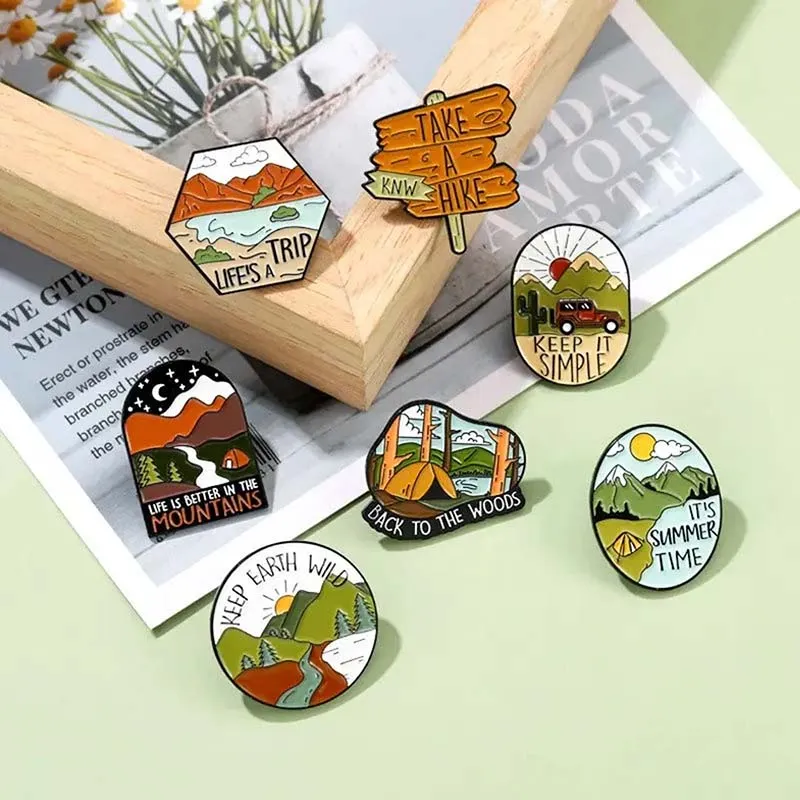
One out of two people say they are unsure of how to go about personalizing a badge for the first time. This confusion is compounded by several realities:
I’m inexperienced, but I’m hoping to set up my own business producing pin badges. I’m not familiar with this industry, so please guide me through the process of designing custom pin badges. I don’t have anything close to production, I just have a design concept. Regarding custom pins, can I get custom pins? I have design drawings, but I don’t know which process is most appropriate for my design. For example, “Where can I purchase custom lapel pins?
Don’t fret! To help you get started, we’ve created the complete guide to customizing enamel pins. This guide will provide you with a complete overview of the industry and help you design unique, custom pins.
The Steps For Custom Lapel Pins
1. Create Your Custom Pin Design Sketch
2. Determine The Craft Of Enamel Pins
3. Choose The Size Of The Lapel Pin
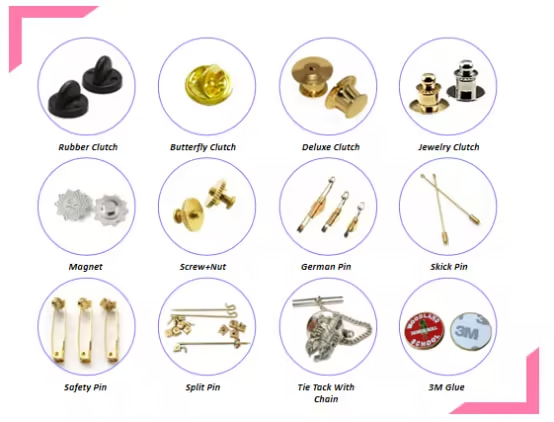
4. Select The Pin Accessories
5. Choose The Packaging
6. Choose The Right Pin Badge Manufacturer
7. Determine Budget
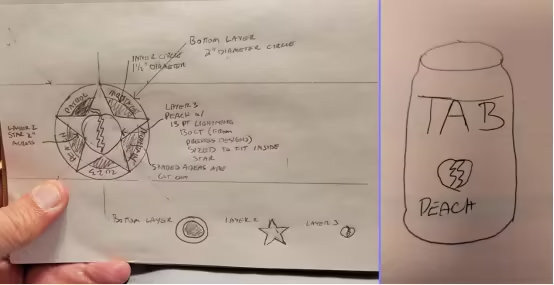
Whether you’re looking to make one-of-a-kind collectibles or special promotional items, custom pins are the answer! They allow you to get creative and make your brand bigger.
Design you artwork design Your artwork design must be created using professional, industry standard design software such as Adobe Illustrator, Photoshop, or CDR. Thousands of artists and designers use our bespoke software to design artwork for their custom enamel pin badges.
Create pins with free online design tools like Canva, FotoJet, and Desygner….. They can assist you pick the right colored enamel
Owning and implementing your design, turning it from data form to physical form, and finally getting your hands on it is definitely exciting, but there are still a lot of design points to pay attention to before you get excited. We have put together the following points for you with over 10 years of experience:
1. Keep your design simple
Create smooth, simple shapes and clean lines. This will ensure the mold maker knows what you are trying to communicate without spending additional time confirming.
It is good practice to discourage the use of highly convoluted outboard shapes and holes
4. Avoid shadows in your artwork
5.Be sure that you’re using the correct Pantone color!
6. Decide the final weight of the lapel pins
Enlist the help of a graphic designer
If you’re an artist with an exciting idea, don’t let your inexperience or lack of time stop you from applying. Hire a professional graphic designer to help you develop and refine your best ideas!
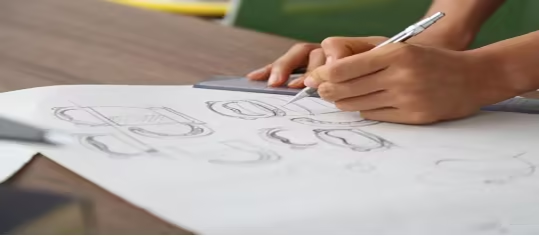
Don’t worry if your budget is tight, we provide free pin design on all of our orders! Just submit your concepts, in whatever form they might take – graphic designs, drawings or just written descriptions. Our talented designers will work with you to mold those ideas into unique creations. You can approve the style and work with the designer to adjust your artwork piece by piece until the idea is crystal clear and fully formed.
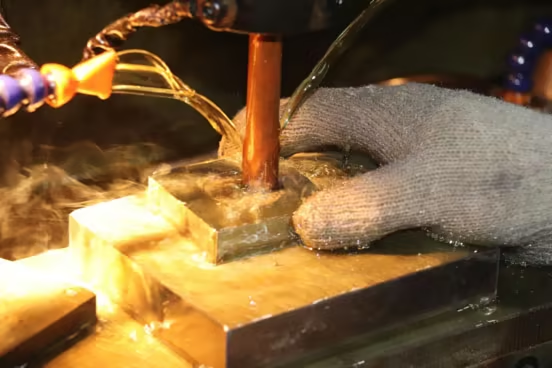
You’ll need to choose what type of lapel pin product material you’d like.
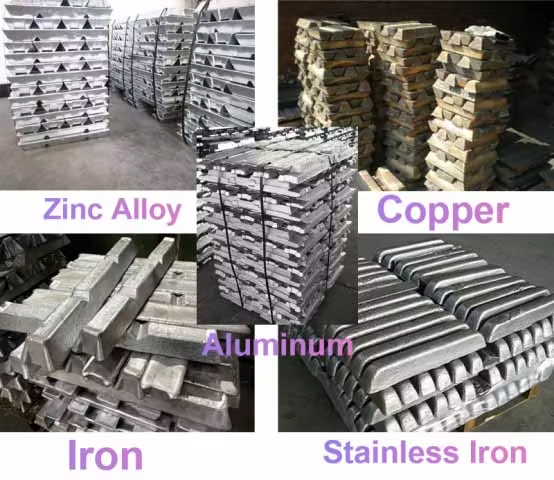
In fact, besides zinc alloys, only aluminum, copper, iron and stainless iron are frequent.
The zinc alloy material was processed with the die-casting technology, while other materials were manufactured with die-stamping process.
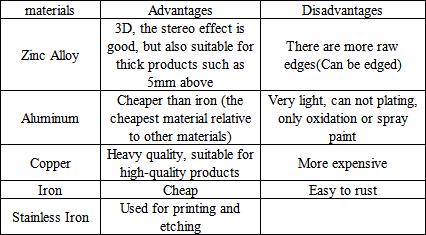
Each material production process has an entirely unique texture, and the pros and cons of each material vary widely.
|
materials |
Advantages |
Disadvantages |
|
Zinc Alloy |
3D, the stereo effect is good, but also suitable for thick products such as 5mm above Low melting point and cheap |
There are more raw edges(Can be edged) |
|
Aluminum |
Cheaper than iron (the cheapest material relative to other materials) |
Very light, can not plating, only oxidation or spray paint |
|
Copper |
Heavy quality, suitable for high-quality products |
More expensive |
|
Iron |
Cheap |
Easy to rust |
|
Stainless Iron |
Used for printing and etching |
Next, you need to select what craft you want to use.
Name | Description |
Cloisonne | First, the pigment pours into the badge according to the desired percentage. Next, we melt the enamel powder at an enamel-sizzling 800 degrees. |
Fill the paint full colour into the products. The surface is linear. | |
Prepare a certain proportion of full colour paint and other glues, fill them into the product, and polish the surface at a later stage to achieve an enamel effect. Smooth surface. | |
UV Print | Draw a texture over the surface (Good for advanced patterned textures or colors in gradient) |
After the product is complete, a layer of invisible glue is spread across the surface to provide additional protection. | |
Glitter | Each powder particles individually to get a twinkling effect. There are several colour pins available to attempt to match the Pantone color code exactly. |
Glow | By absorbing light, the night can glow |
Transparent Color | It is transparent in colour and the bottom is visible. |
Pearlescent | Add pearl powder to paint |
Sand Face | The surface is like sand grains, one by one |
Cut Out | Cut out the product and move it to achieve a hollow effect |
Etch | The logo is corroded by the potion, which can only be used for thinner copper and stainless steel |
Laser | By laser the logo or lettering, only natural colors (gray) and black two colors |
Two-tone | The same product is electroplated in two colors |
3D/2D | Arc-shaped or multi-layer / product only has two layers of concave and convex |
The surprisingly simple process includes bonding a thin layer of metal film to surfaces of metal or non-metal components. Scientists have developed a way to do that through electrolysis. It stops corrosion, increases wear resistance, conductivity, and reflective qualities and beautifies. | |
Stained Glass | Fill in the cut-out portion of the pin and use the transparent color to fill in the shape of the pin. |
Gem | Custom pins with artificial diamonds (diamonds are available in a variety of colors) |
Hinge | The two-layer pin badge can be customized to either open and close or move back and forth like a door.
|
Link Chain | The pin badge is inlaid with a chain so that many pin badges connect to form a flexible canvas. |
Slide | Multi-layer format, allowing one or more layers to be shifted across the base pin badges. |
Multi-Layered Enamel Pin | A 3-dimensional, multi-tiered design with a layer of pin badges as the foundation and the others layered on top |
Back stamp | Your message, company name, or any other text printed or engraved on the reverse side of the pin badges with raised or indented lettering. |
LED Light | It can be add LED on the pin badges |
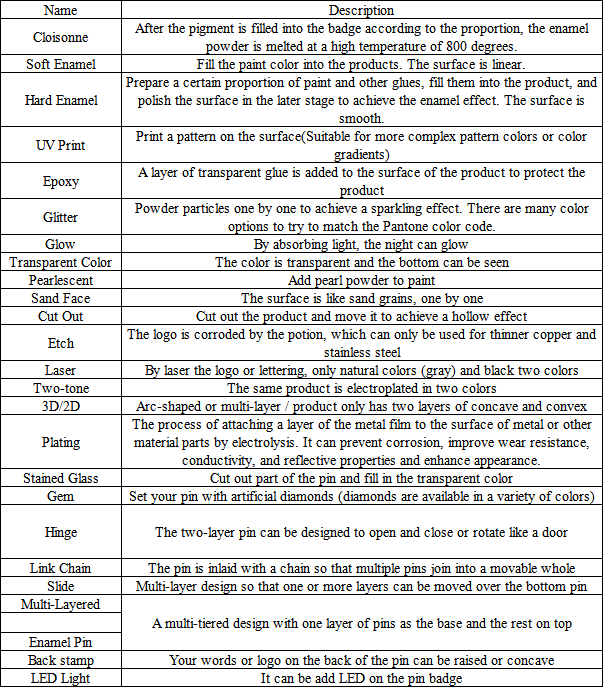
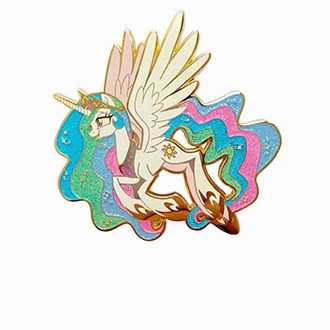
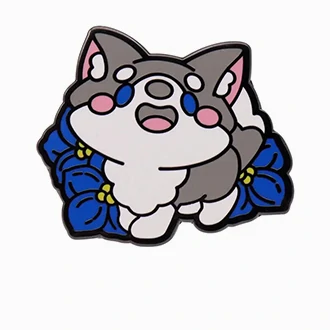
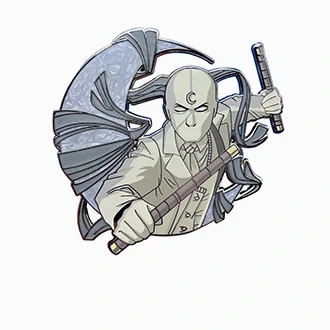
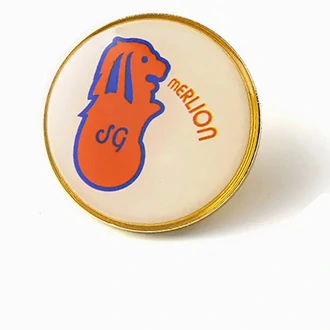
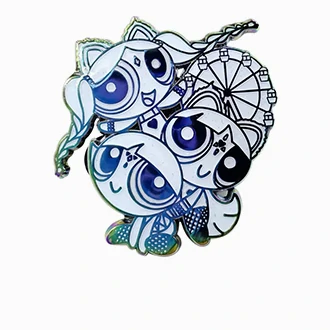
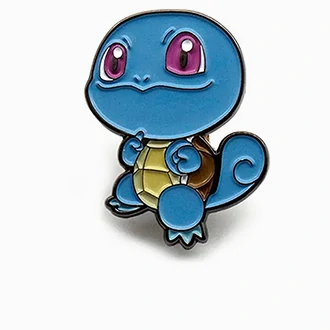
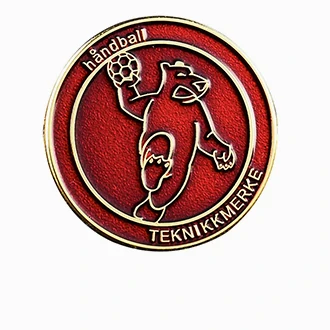
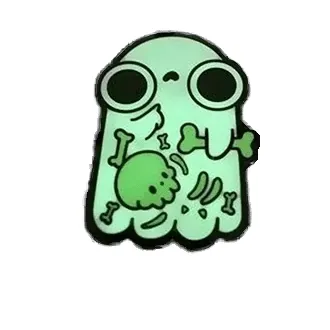
Each surface and medium has a unique impact on your art, and naturally their costs vary as well.
With the materials supplies, there are so many crafts, your artwork to be the most amazing pin badges.
By now, you should be well on your way to creating your ideal design.
In this section, you’ll need to figure out the dimensions and depth of your artwork, and then there’s the form.
All of these are tied to cost. So then what size works best for your design?
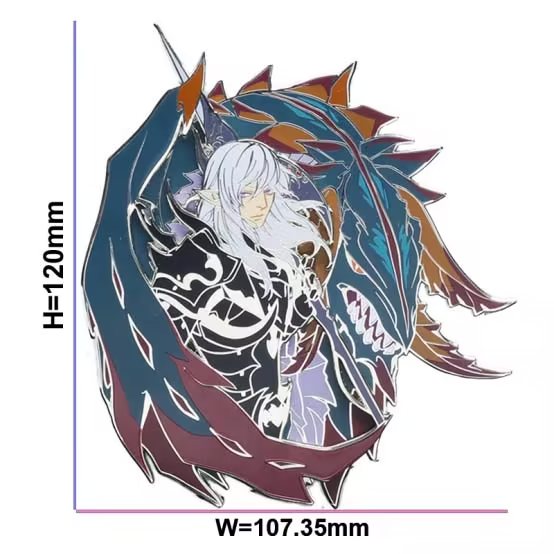
Large BadgeTypically, custom a bigger lapel pin badge is over 3 inch. While a larger size may be needed to adequately display your design, a larger size reduces the number of places they can be worn. Typically the bigger one is the one people are more likely to pick up. Naturally larger badges will require more materials and the cost will go up accordingly.
Big Shape Pins(3”- 5”) feature:1.It is particularly well-suited to scenarios that require a high degree of detail.
2. More space available.
3. Ability to use more colors
4. There are large animals, etc.
Small Shape Badge
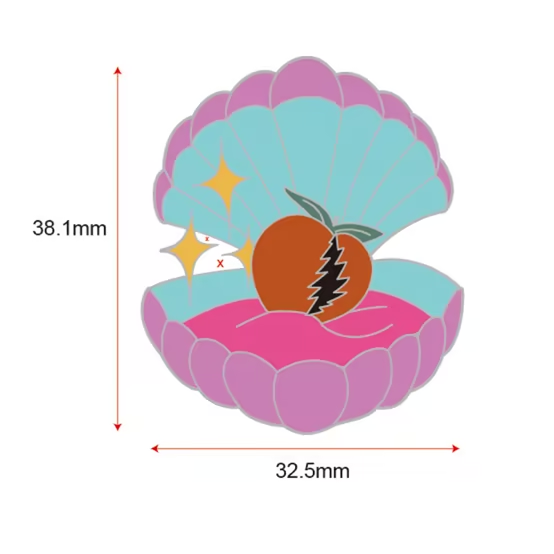
Custom small lapel pins typically range from 0.5″ – 1.5″ wide or long. They’re more portable. They’re lighter, easier to set up and put away almost anywhere. Lower prices. The drawback with smaller pins is that they tend to have more limited detail.
Pins(0.5” – 1.5”) feature:
Suitable for a few detailed, relatively simple design
School or company badge pins with less font
Event name or promotional product pin
Once you get your design draft and requirements figured out, it’s all about finding the right supplier. We have listed some information that you may need to confirm with the supplier:
Intimate experience
Quick turnaround times
Where is your factory located
Time of delivery
Quality and money-back guarantee
How will my order be shipped
Accept expedited
How are we going to pay for this
Quantities may be too high to be useful
Once you decide who you’d like to partner with, provide them with your design mockup. Make sure to include selected process, size, accessories, packaging, and quantity too.
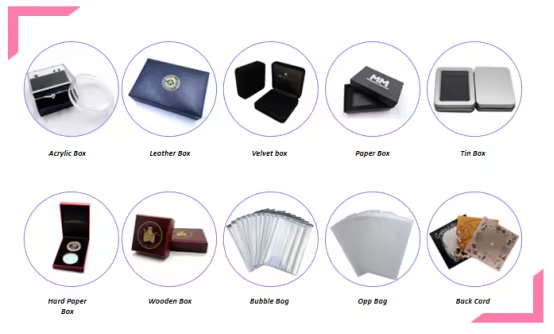
Most of our artist clients will custom background cards for their pins to highlight the artwork and put more information on the card to expand the impact.
We provide a variety of packaging materials for you to choose from, if you want others, just tell our sales expertise and we will try our best to find them for you. I believe this packaging will add highlights to your lapel pins.
If you plan to give or sell your lapel pins on grand occasions, such as conferences, high-end gifts, etc., you may need to choose packaging that highlights your artwork without looking cheap.
If you’re doing this as a regular giveaway, or promotional gift, or if you want it to display right now, you may prefer to keep it simple.
After preparing your design draft and requirements, the most important thing is to choose a suitable supplier. We have listed some information that you may need to confirm with the supplier:
1. Rich experience
2. Timely communication
3. Is there a factory
4. Delivery period
5. Quality and return guarantee
6. What is the shipping method
7. Whether to accept expedited
8. What is the payment method
9.Minimum order quantities
Once you have determined your partner, you can send your design draft, selected process, size, accessories, packaging, and quantity to the manufacturer partner.
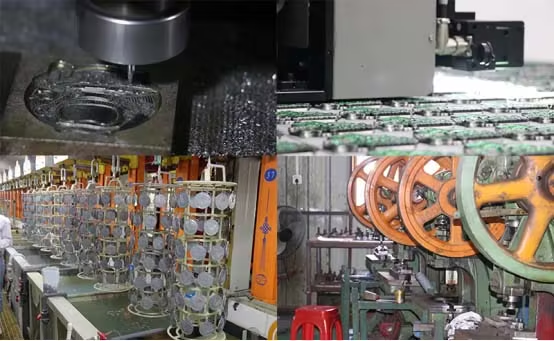
The price for customizing lapel pins depends on what you need and steps one through six above. Don’t forget that tons of our manufacturer partners provide complimentary design services, so that’s one cost you can leave out!
Other factors include:Material/ Quantity/ Size/ Accessories/ Package/ Production Cost
Purchasing in bulk might save you some money, but if you’re looking to purchase in bulk from a specific company, we ask as a courtesy that you place a small initial order. This way you know if this manufacturer’s products might be right for your needs.
The first step is ensuring that you do a complete vetting of this manufacturer. Once you complete this process, you can submit the big order for mass production.
If printed on different designs through different channels, or if you provide customers with several options to choose from, request the manufacturer gives you multiple ways of packaging. This will match up with a lapel pins of many different colors, and showcase what makes your artwork special!
Most lapel pin manufacturers will keep your mold for three years. For the duration of that time, you can produce the design without having to reopen the mold, which can save you thousands of dollars. You need to choose a manufacturer that’s going to go the distance with you! Finding a reliable lapel pins producer should be an easy choice.
To get a fast quote for your art, think about using our online quote system, or the instant chat tool. Their turnarounds are usually quicker than an email response, and you can similarly request production support via their online real-time chat feature for all your design projects with trading associates.
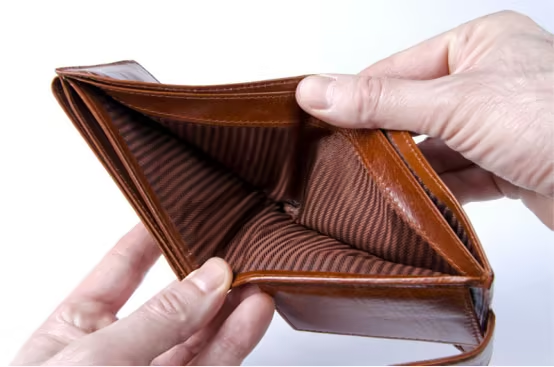
Once you’ve done all of the steps above, your design is almost finished. Instead, you only need to pay a small portion of advance payment (typically 20% or 30% of the total order). The applicant and the manufacturer partner will be able to begin production once paid.
Once the partner has finished the production, they typically start demanding that you pay them in full. During this stage, request a short video or photo from the manufacturer. This will ensure the quality of the product you receive is up to standard.
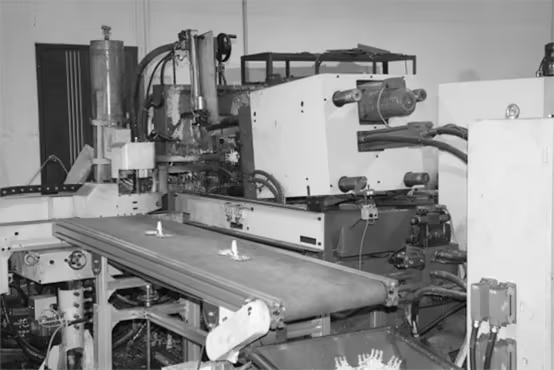
Thereafter, ensure with the manufacturer the product’s logistics route and customs clearance.
If you’ve determined a hard launch time to begin sales of your product, book space at least 1-1.5 months prior. That way, your artwork will be sure to get there on time!
Normally, it will take 1-4 weeks to get your design executed, for a standard number of products.
If the order is big then you must be sure that you have confirmed your item’s generation time with your manufacture companion.
When demand is at height of peak season, production time can be more quick and immediate and can take longer.
Naturally, the exact turnaround time will vary by the manufacturer partner you choose. The time indicated in this guide is for informational purposes only.
| Reference Time | |
| 100 – 500 | 7 days |
| 500 – 1000 | 12 days |
| 1000 – 5000 | 15 – 20 days |
| 10000 + | 20 days |
| DDP by sea | 30 – 35 days |
| DDP by air | 15 – 18 days |
| Express | 3 – 7 days |
| By road | 25 – 30 days |
| By railway | 25 – 30 days |
These steps are just the beginning of creating your very own lapel pin.
If you want to custom pins, you are welcome to contact us, manufacturer PeaKeen is at your service! If you have any questions, you are also very welcome to send a mail to us, our email address: [email protected]. Our support mail: [email protected]
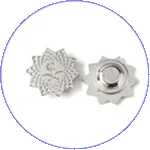
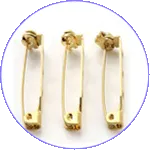
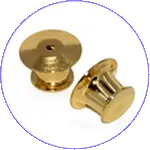
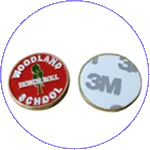
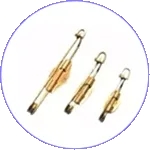
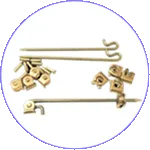
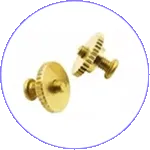
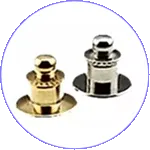
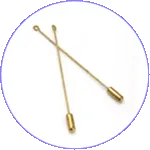
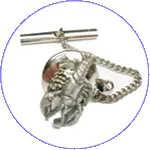
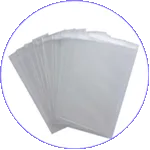
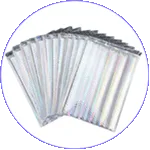
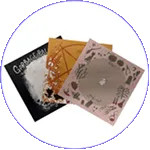
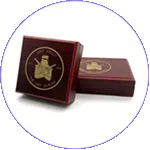
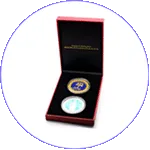
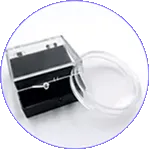
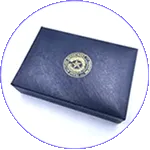
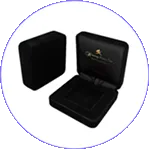
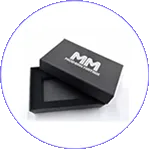
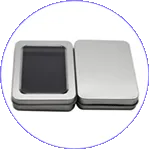

Table of Contents A SWAT team pin is a specialized insignia worn by SWAT personnel to symbolize role, qualification, and
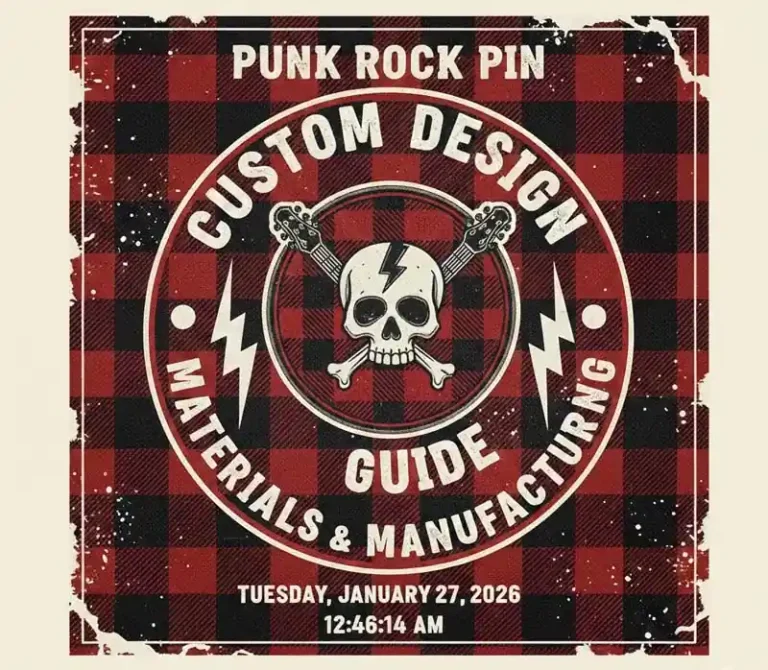
Table of Contents This guide covers everything you need to know about custom punk rock pin design, materials, and manufacturing.
No. 5, Tongan Road,
East District Xiaolan Town,
Zhongshan, Guangdong,
China
Copyright © 2024, Zhongshan Peakeen Gifts Supply Chain Co., Ltd. All rights reserved. Powered by PeaKeen Privacy Policy
Let’s work together to achieve business growth!