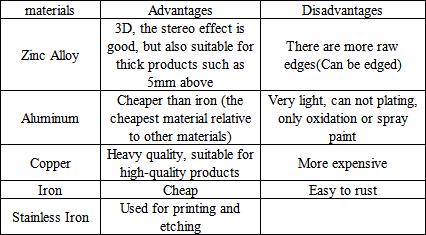
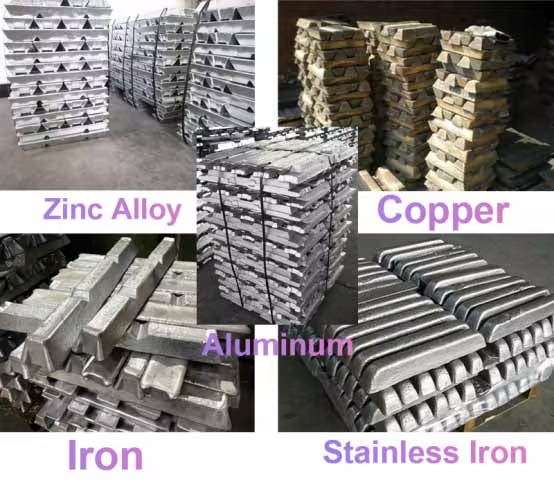
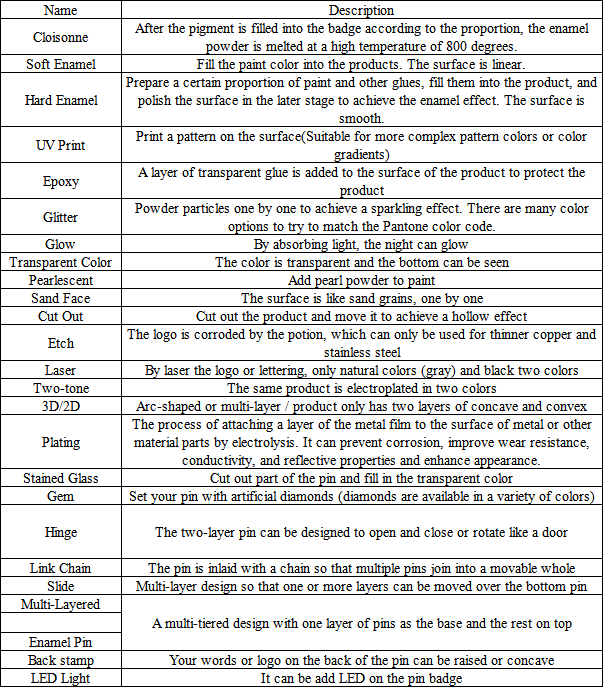
Имя | Описание |
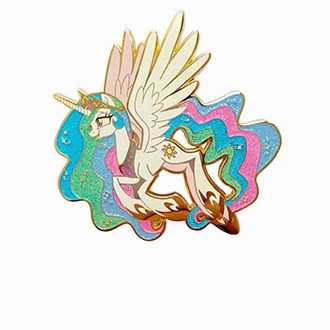
Перегородчатая доска | Сначала в значок насыпается пигмент в соответствии с желаемым процентным содержанием. Затем мы расплавляем эмалевый порошок при температуре 800 градусов. |
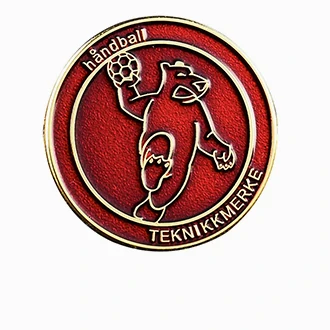
Мягкая эмаль | Fill the paint full colour into the products. The surface is linear. |
Твердая эмаль | Prepare a certain proportion of full colour paint and other glues, fill them into the product, and polish the surface at a later stage to achieve an enamel effect. Smooth surface. |
УФ-печать | Нарисуйте текстуру на поверхности (хорошо подходит для сложных узорчатых текстур или цветов в градиенте). |
Эпоксидная смола | После завершения работ на поверхность наносится слой невидимого клея для дополнительной защиты. |
Блестки | Каждый порошок рассыпается по отдельности, чтобы получить эффект мерцания. Имеется несколько цветовых штифтов, чтобы попытаться точно соответствовать цветовому коду Pantone. |
Glow | Поглощая свет, ночь может светиться. |
Прозрачный цвет | Он прозрачного цвета, дно видно. |
Перламутровый | Добавьте жемчужную пудру в краску |
Песочное лицо | Поверхность, как песчинки, одна за другой |
Вырезать | Вырежьте изделие и передвиньте его, чтобы добиться эффекта пустоты. |
Травление | Логотип разъедается зельем, которое можно использовать только для тонкой меди и нержавеющей стали. |
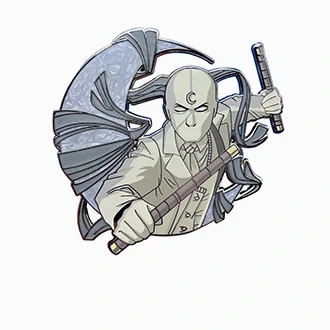
Лазер | Лазером наносится логотип или надпись, только натуральные цвета (серый) и черный двух цветов |
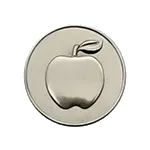
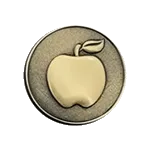
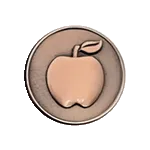
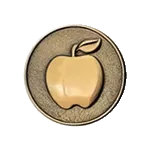
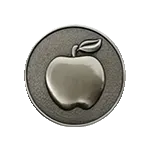
Двухцветный | Одно и то же изделие имеет гальваническое покрытие двух цветов |
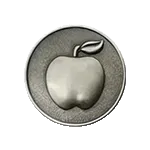
3D/2D | Дугообразные или многослойные / изделие имеет только два слоя - вогнутый и выпуклый |
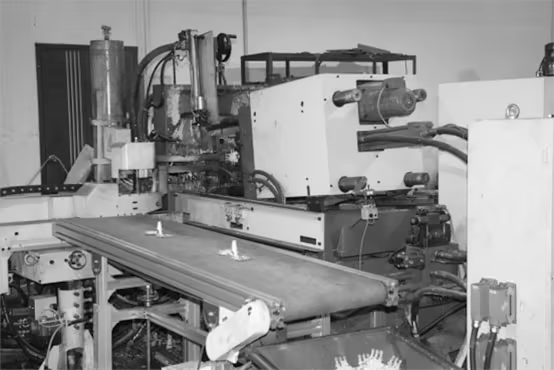
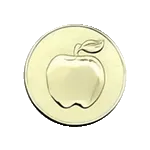
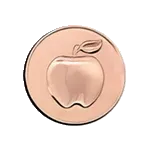
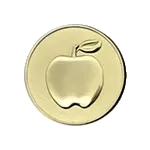
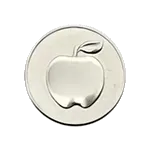
Покрытие | Удивительно простой процесс включает в себя приклеивание тонкого слоя металлической пленки к поверхности металлических или неметаллических компонентов. Ученые разработали способ сделать это с помощью электролиза. Он останавливает коррозию, повышает износостойкость, электропроводность, светоотражающие свойства и придает красоту. |
Витраж | Заполните вырезанную часть булавки и с помощью прозрачного цвета залейте ее форму. |
Джем | Custom pins with artificial diamonds (diamonds are available in a variety of colors) |
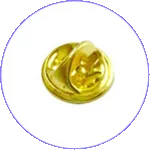
Петля | Двухслойный значок с булавкой можно настроить таким образом, чтобы он открывался и закрывался или двигался вперед-назад, как дверь. |
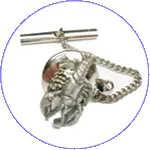
Звенья цепи | Значок-булавка инкрустирован цепочкой, так что множество значков-булавок соединяются, образуя гибкое полотно. |
Слайд | Многослойный формат, позволяющий смещать один или несколько слоев на основе значков-булавок. |
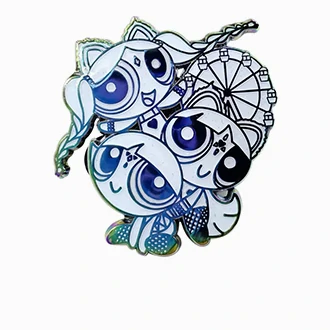
Многослойный Эмалевая булавка | Трехмерный многоуровневый дизайн с основой из значков-булавок и остальными слоями сверху |
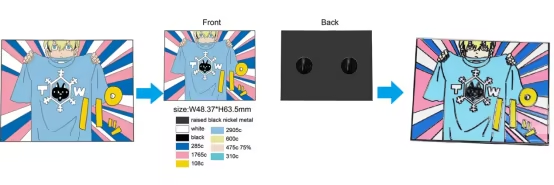
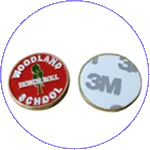
Задняя печать | Ваше сообщение, название компании или любой другой текст, напечатанный или выгравированный на обратной стороне значков-булавок с рельефной или углубленной надписью. |
Светодиодная лампа | It can be add LED on the pin badges |